
ELECTRIC & SOLAR
STEP 4
ELECTRIC & SOLAR SET UP
This is one of the most expensive parts of the process so it’s important to think about the following factors. Getting this is part right for your particular needs and lifestyle can set you up for success of full off-grid living.
VOLTAGE: What voltage will you have throughout the van? For example, we have 110v outlets.
PROPANE VS ELECTRIC: Are you comfortable with some appliances running off of propane or only electric? If you go all electric that will require an increase in electrical equipment.
COOKING APPLIANCES: What cooking appliances will you have and which will be running on propane and electric?
LIGHTING APPLIANCES: How many lights & light switches will you have and what is the voltage of each?
OUTLETS: Do you plan to plug in high energy things like blenders or blow dryers? If so you need a higher watt inverter (more $$$).
OFF GRID: If you hope to build an off grid tiny home, then having enough solar is key. How long would you like to be able to go without having to charge up?
LIFESTYLE: Are you a digital nomad and will be needing a ton of power to charge all of your equipment?

OUR VAN ELECTRICAL SET UP
We knew we wanted to have a long term off grid set up as well as a reliable system be able to work remote on our computers and devices full time. We decided against a fully electrical system as our stove/oven runs off of propane. We feel comfortable using propane and like that it takes some load off the electrical system. We have five 110V usb/outlets throughout the van. Things we run are a 110V fridge, maxxair fan, water heater, water pump, and a ton of lights inside and outside the van. In addition we run multiple laptops, phones & a curling iron and we rarely need extra power. In the case that we do run out of power, we simply turn on the engine or drive for a while to recharge the batteries. We have been SO HAPPY with our set up, it’s been incredibly reliable and we always have enough!
12A 100A Smart Lithium Iron Renogy Batteries (3)
We went with all Renogy products and if you’d like to shop them too be sure to use our link http://73renogy.refr.cc/sunnyluna for 10% off your first order!
*Exclusions apply. Discount not applicable to batteries and sale items.

SOLAR PANEL ROOF SET UP
We went with 4 100 watt panels, which has been great for us since we spend a lot of time in the southwest U.S. where the sun is bright and shines most of the day. On average we pull 70-80 amps on a sunny day which is plenty for our needs. We run our fan, fridge and appliances off this (hot water, laptops, phones) with no problems if we stay in one place for awhile. More watts is always better but the tradeoff is money and space, we are very happy with our 400 watt system.

PORTABLE SOLAR PANEL SET UP
If the roof isn’t an option to install these 100W foldable solar panels. They have USB outputs to easily charge any device. They fold down nice and compact. By charging the portable battery with the solar panels during the day, you’ll have a sure way to pull power at night. You typically only need this set up if you don’t install an electric system like what we did or if you are car camping. We haven’t needed this but hear it’s a wonderful solution for so many!

INVERTER
This 3000W inverter is a beast to say the least. We felt we wanted to never stress about putting too much load on the inverter (a common problem if you try and save $ by buying the lower watt inverters). We could have gotten away with a 2000W model most likely but again it’s a question of what your peak load will be. Ours is a space heater (1500W) plus a hot water heater (500W) so it was too close of a call when in colder temps. If you plan on running a space heater or similar, plan on having a higher watt inverter. Generally anything with a heating/cooling element will draw LOTS of watts.

BATTERIES
These Lithium Iron 100Ah batteries have served us great so far, and we have yet to really run them down with our solar and DC battery charger (charges when we drive). The benefit of Lithium Iron is you can actually use the entire (or almost entire) Ah capacity, and they are known to be safer and last longer. They are considered premium, but the peace of mind having better batteries was worth it for us. The best way to know how much battery you will need is by using this helpful guide!

DC TO DC BATTERY CHARGER
Getting a DC to DC battery charger is one of the best things you can do to sustain your battery life and it’s the only thing that will help you when living in cloudy climates for long periods. When all your solar and battery juice has run out you simply turn on your engine or go for a drive and your batteries will fill. This is a lifesaver from time to time. We installed ours under the driver’s seat.

SOLAR CHARGE CONTROLLER
This 40A Solar Charge Controller comes with the Renogy Solar Kit. One cool feature about this controller is that it has Bluetooth capabilities making it easy to monitor on your cell phone from anywhere (in the van)!

OVERHEAD & TASK LIGHTING
We have 16 of these 12v LED dimmable RV puck lights throughout our van. These lights are amazing, very sleek and easy to install. We have upper lights down the isle of the ceiling and 2 lights under each cabinet creating task lighting. It’s nice to have these lights on 2 separate switches so we can just have the task lighting on or just have the ceiling lights on or both. On top of that they are on dimmer switches so we have a lot of versatility with the lighting. It’s a feature that we really love and use on the daily.

OUTDOOR VAN LIGHTING
We have three 12V LED scare lights under the van and it’s been such a great decision. Placed on each side of the van as well as one under the rear, we use this lighting every time we spend evenings outside.

LIGHT SWITCHES
We went with chunky RV switches, they are easier to flip and we have been very happy with them. Something to consider is if you want them on dimmers, make sure the lights and switches are compatible!
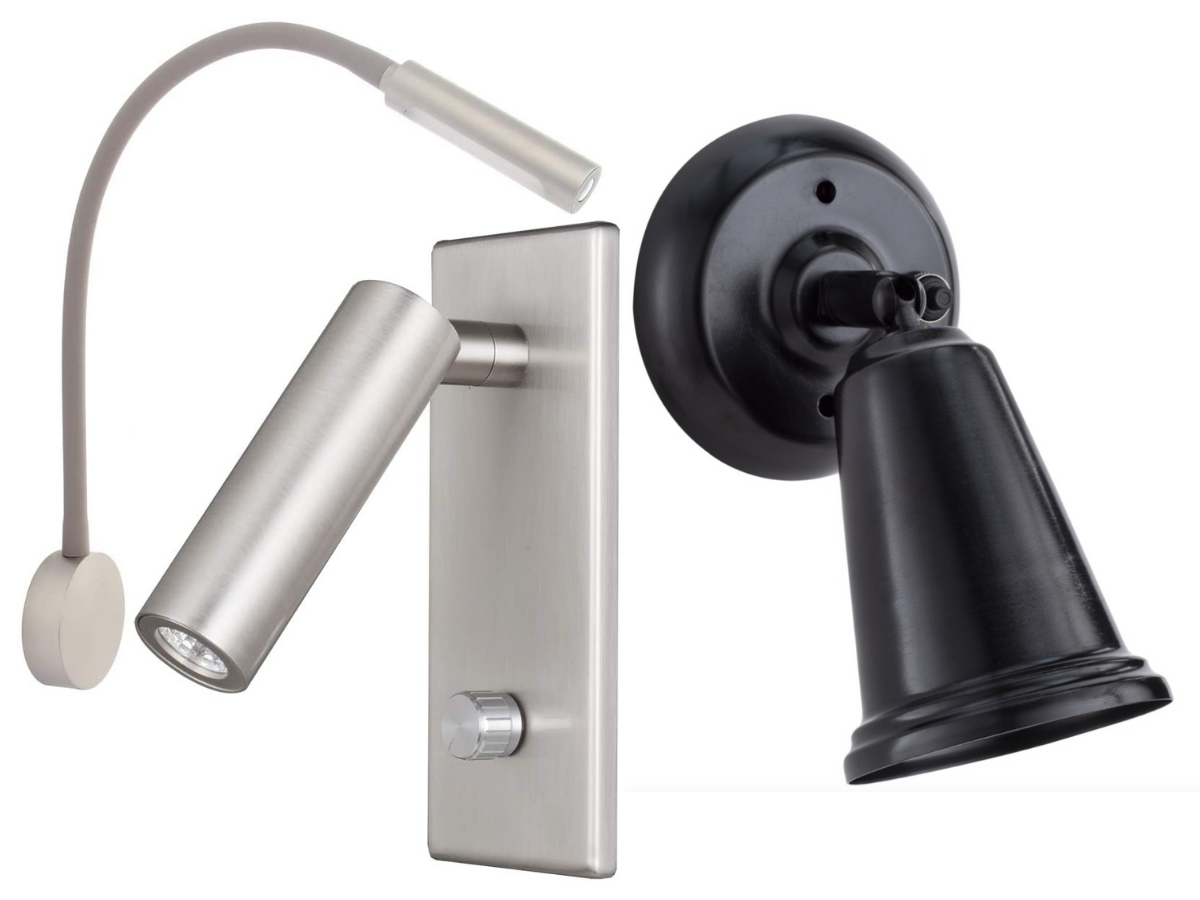
READING LAMPS
Reading lamps are a nice touch in any home, no matter how tiny it is. They are generally placed above the bed/sleeping area. When making your reading lamp decision you’ll want to look for one with a built in on/off light switch. And if possible, a built in USB plug is always a nice feature. Be sure to only consider LED as these pull the lease amount of power from your electric system.
Links to shop reading lights from left to right:
Dimmable LED Snake Light with built in light switch, USB & red light

DECORATIVE LIGHTS
Lighting can really elevate your tiny space simply by adding decorative lights. You can get built in LED lights installed during the build or for a quick and more affordable option you can buy these USB plug colored LED lights. We bought two of these and placed one in the front of the cab and one in the back, both located on the ceiling. We intentionally installed USB plugs close to where we knew the LED lights would be placed, so during the design process be sure to think about where you would like your colored LED light strips to be placed and if you need to build outlets close to them. For example, if you want them on the toe kicks for floor lighting, you’ll be able to plan where to wire a USB plug. If the light strips are visible you’ll want to purchase this diffuser track for a nice, aesthetic touch.
The mini ball string lights seem to be another van life favorite. These must be plugged into an outlet so keep in mind which outlet you’d like to plug it into when thinking about where you plan to hang them. They add a nice touch to the van making it feel more cozy.

INSIDE CABINET LIGHTING
It’s super important to install inside cabinet lighting! There’s nothing worse than not being able to see at night. We initially wanted to get built in lighting inside the cabinets but ultimately decided to save money and found this incredible alternative instead. These Wireless, motion censored LED rechargeable USB lights are amazing! You’ll only need one per cabinet and you’ll want to place them in the front of the cabinet just inside the upper cabinet lip. They are easy to install and extremely bright. Just be sure to charge them before installing. They will last a while! We haven’t needed to re-charge them since we began van life.